
Installing Linux: A Step-by-Step Guide
Linux is a powerful operating system that is known for its stability, security, and flexibility. If you’re looking to install Linux on your computer, this step-by-step guide will walk you through the process.
Choosing a Linux Distribution
Before you can install Linux, you’ll need to choose a distribution that best suits your needs. Some popular options include Ubuntu, Fedora, and Debian. Each distribution has its own set of features and user interface, so take some time to research and find the one that is right for you.
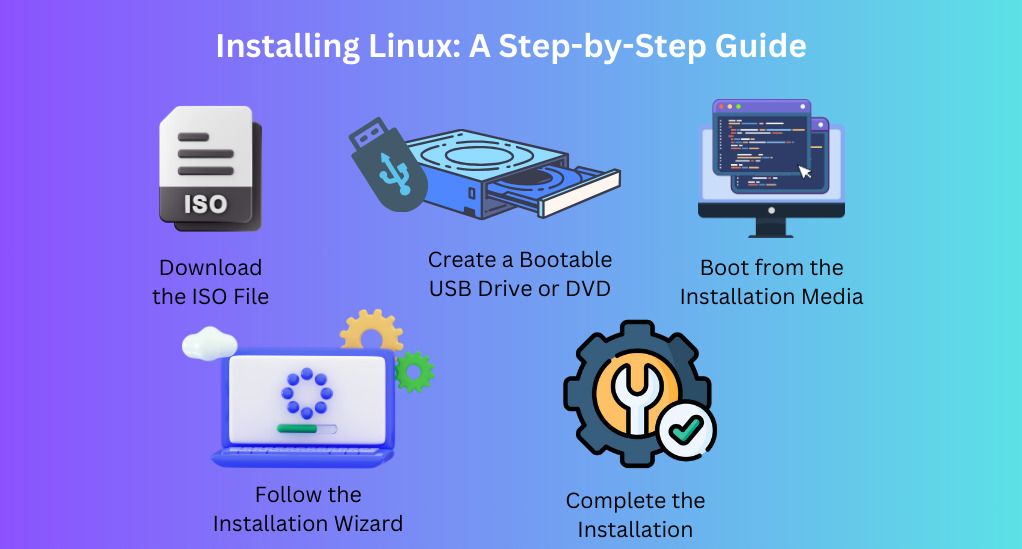
Creating a Bootable USB Drive
Once you’ve chosen a Linux distribution, you’ll need to create a bootable USB drive. This will allow you to install Linux on your computer. To do this, you’ll need a USB drive with at least 4GB of storage and a tool like Rufus or Etcher to create the bootable drive.
Booting from the USB Drive
With your bootable USB drive ready, you’ll need to restart your computer and boot from the USB drive. This can usually be done by pressing a key like F12 or Del during the boot process to access the boot menu. From there, select the USB drive as the boot device.
Installing Linux
Once you’ve booted from the USB drive, you’ll be taken to the Linux installation wizard. Follow the on-screen instructions to choose your language, time zone, and partitioning options. You’ll also need to create a username and password for your new Linux account.
Finalizing the Installation
After the installation process is complete, you’ll need to restart your computer. You’ll then be prompted to remove the USB drive and boot into your newly installed Linux operating system. Congratulations, you’ve successfully installed Linux on your computer!
Thank you for following this step-by-step guide to installing Linux. If you have any questions or need further assistance, feel free to reach out to our team of experts. Happy computing!